
I’m sending out some of my Disco Candybar prototypes again. That means it’s time for me to bring all the old ones that have been in circulation back home for maintenance. It’s also a good window for me to build a new one, so that as I send the refreshed boxes out into the wild again, I still have a copy here at home for reference.
Over the last week I’ve been taking photos of the stages of prototype construction. I’m not done rebuilding a full copy yet, so this is actually a “Part 1 of 2” post; I’ll put up the rest of the process next week once it’s all done. Regardless, this is a peek into the path from basic paper-and-stock-components to a full Disco Candybar prologue demo.
Might as well just dive in, no?
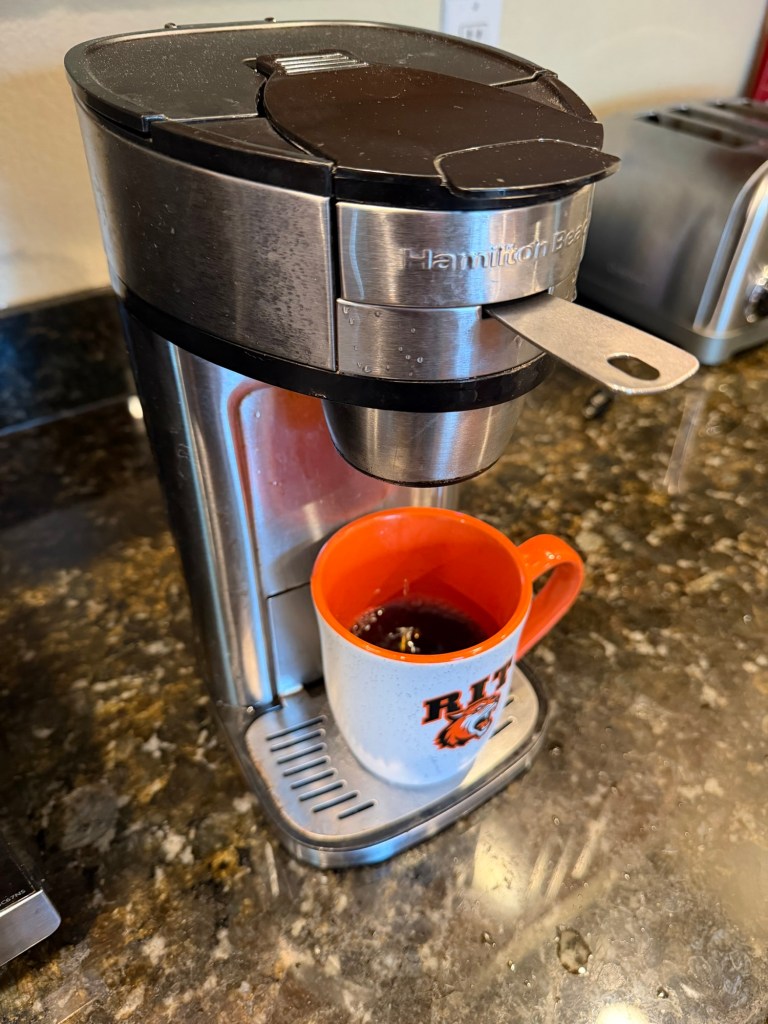
Coffee. All prototyping must start with coffee.
Really, all everything starts with coffee for me these days.
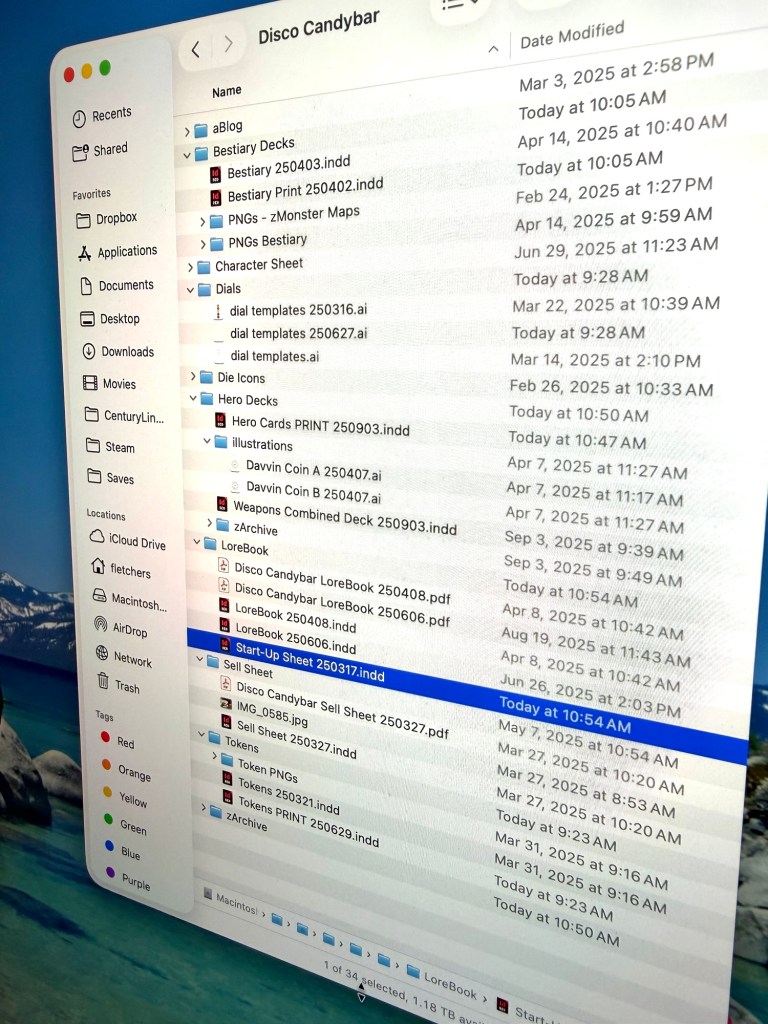
This is a glance into the number of files that go into building out all the parts of the Disco Candybar prototypes. It has been, admittedly, far too long since I’ve actually created any fresh content for the game. Jumping back into all of this head-first will hopefully help me break that cold streak.
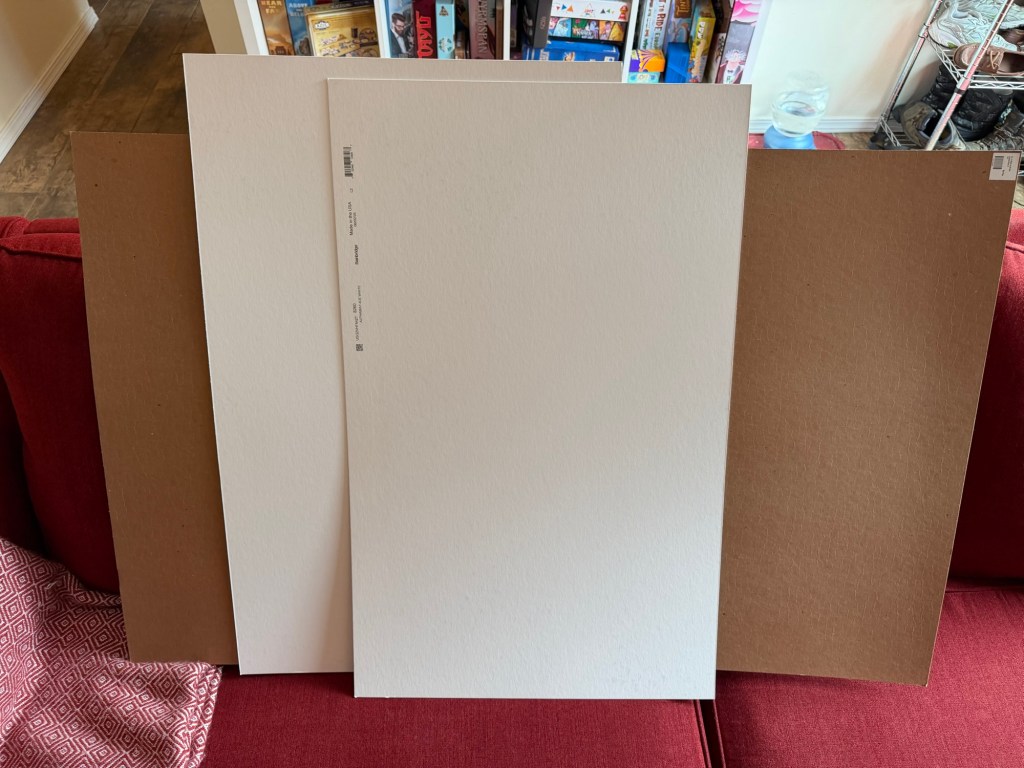
First up, I had to restock my supply of mat board and paperboard. The white sheets are for making actual components, and the brown paperboard is for the box everything goes in. Good mat board’s definitely pricier than paperboard, but it’s a lot easier to cut than the rough brown stuff, and there’s a lot of cutting coming up.
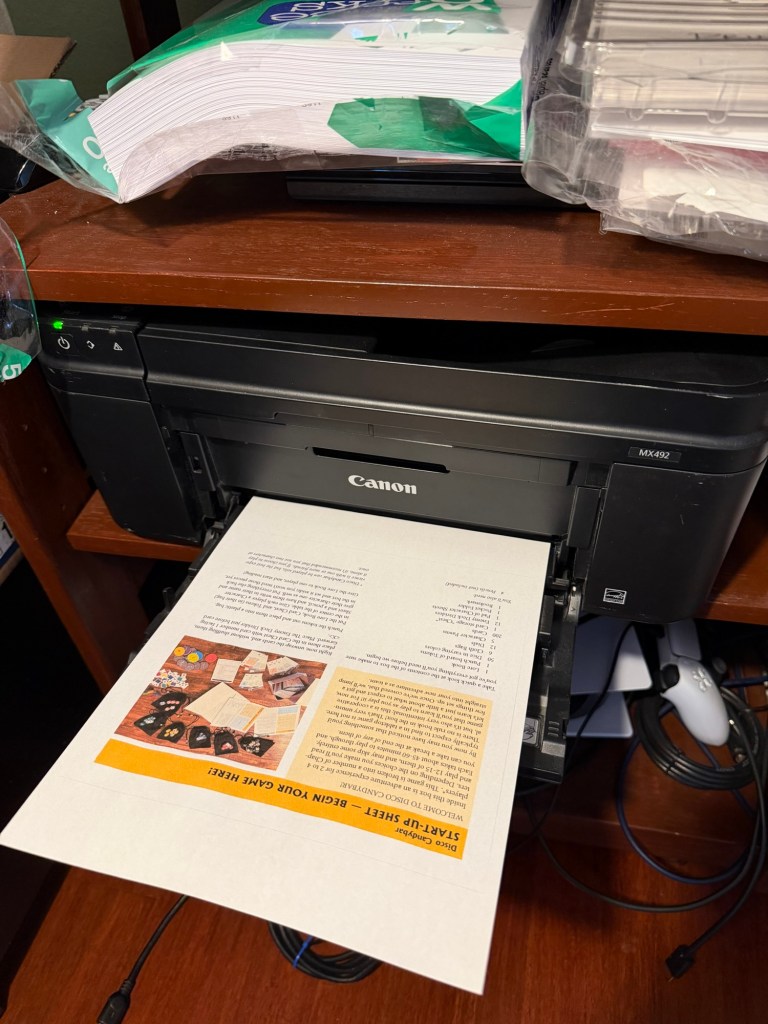
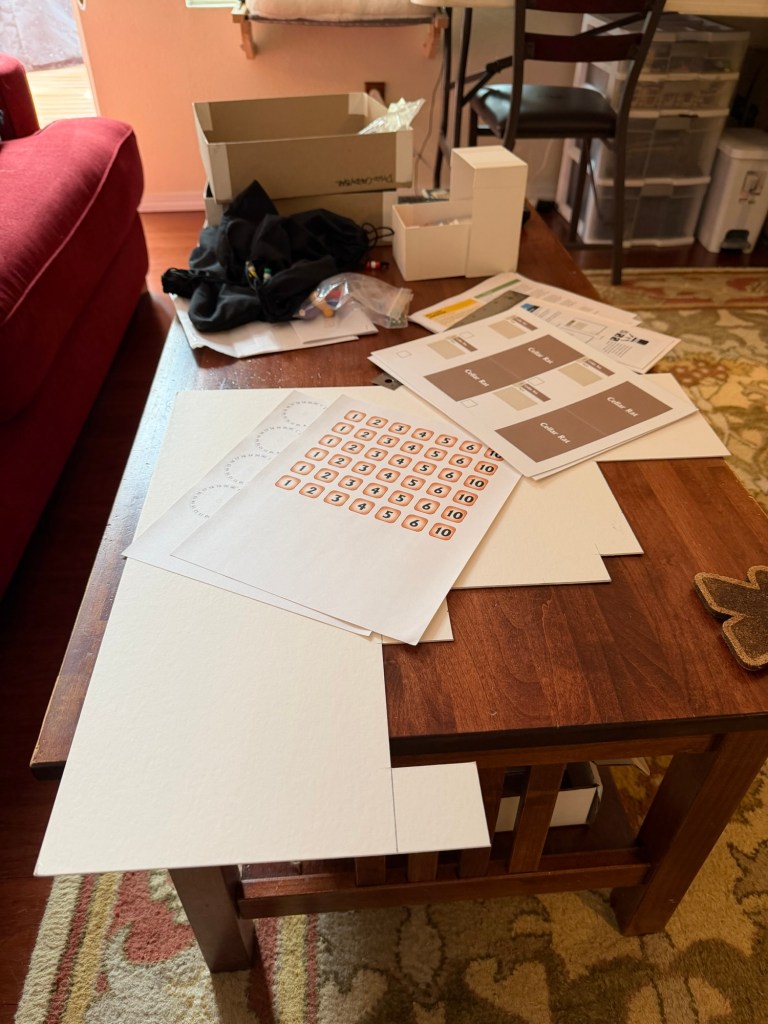
Lots of printing. The old Canon ink jet is nothing fancy, but it works. I find that the paper is everything; it’s all about getting decent weight, bright white sheets. I also use sticker paper for a lot of the components that need to be mounted on matboard.
The cards (the ones with the brown rectangles on the coffee table) are printed on cardstock. I don’t duplex them, but instead print the fronts and backs side by side, cut them out 4-up, and score and fold them before putting them in clear sleeves. But more about that next time when I actually build out those components.
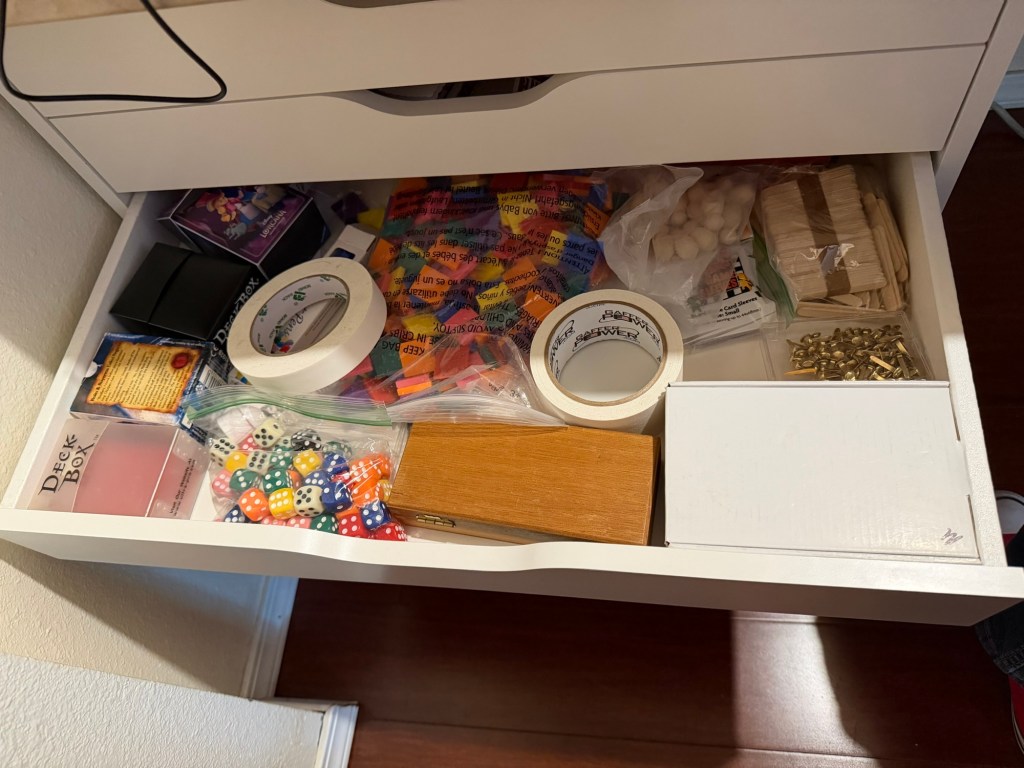
Had to raid some of my prototyping stash for parts. I actually realized at this point that I was short on things like stock dice (D6’s) and black cloth bags, so I wound up putting in an order for those supplies. God bless overnight shipping.
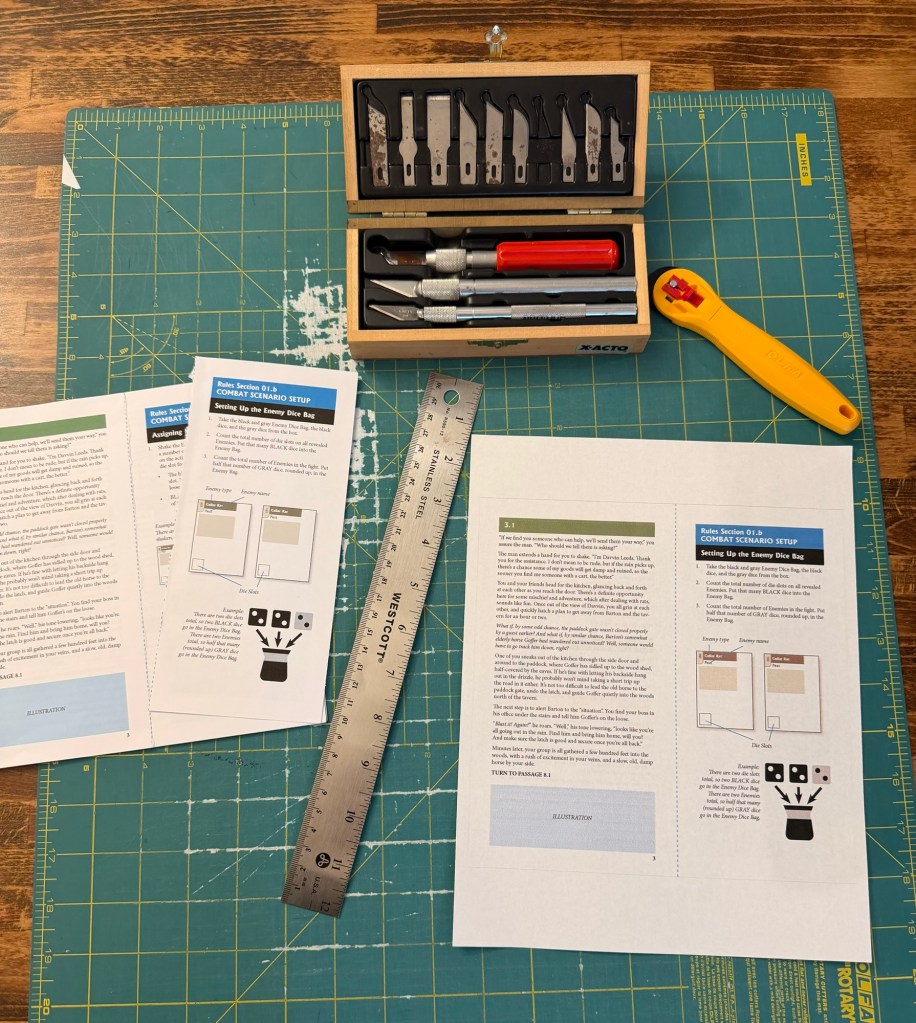
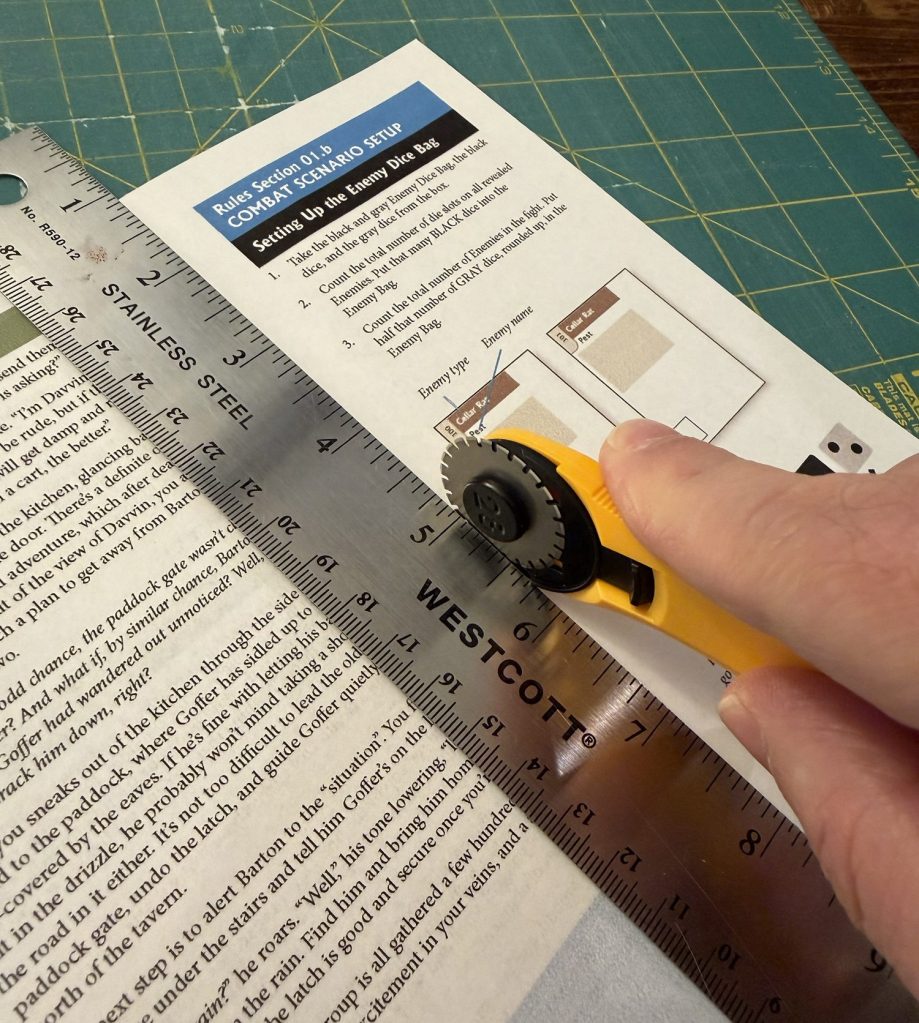
One of the features I built into Disco Candybar is the combined lore-and-rule book. There’s no separate rules document, just a single storybook that has perforated tear-out pages you collect throughout the game. They eventually go into a small folder that becomes the rule book over time.
The last time I demoed the game for someone, we actually tore out the first one of those rules sheets, so I needed to repair that copy of the lore book. Cue the ruler and perforated rotary cutter. I pried the staples in the binding open, swapped in the new page, and stapled it all together again. Not quite “good as new”, but close enough for prototype work.
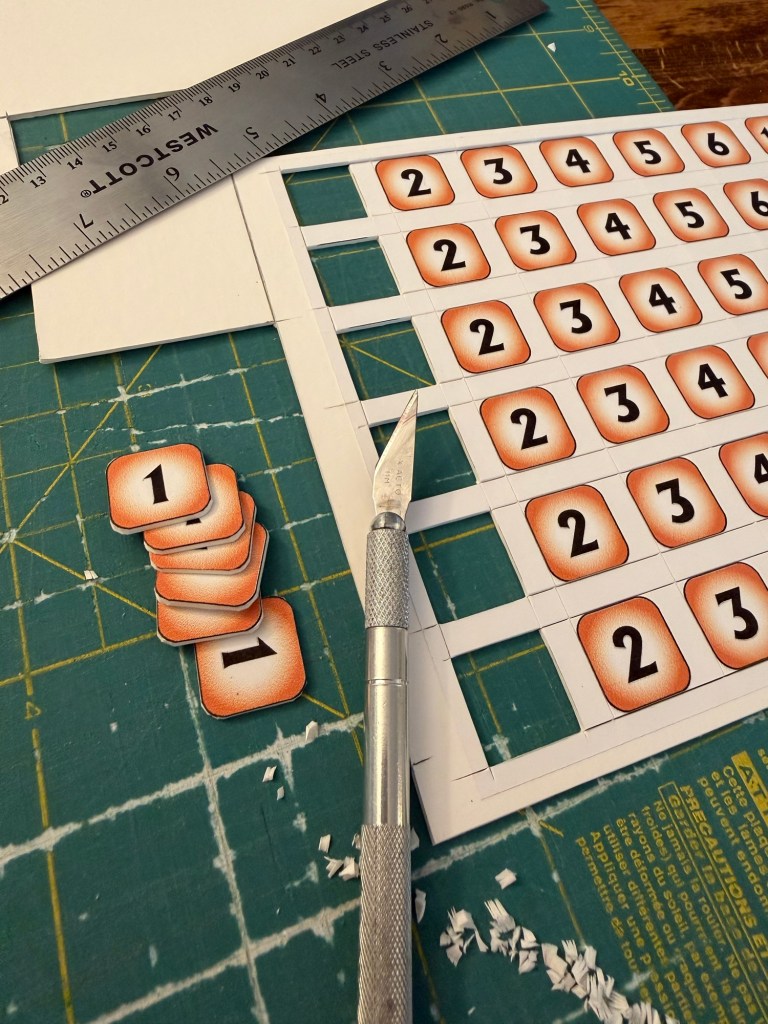
Number tokens. Lots of them.
Sticker paper applied to the mat board, then cut by hand. For some reason I decided to round the corners on these, also all by hand with the X-acto knife. Does it look good? Yeah. Was it in any way necessary or efficient? Nope. 7/10, would reconsider the decision next time.
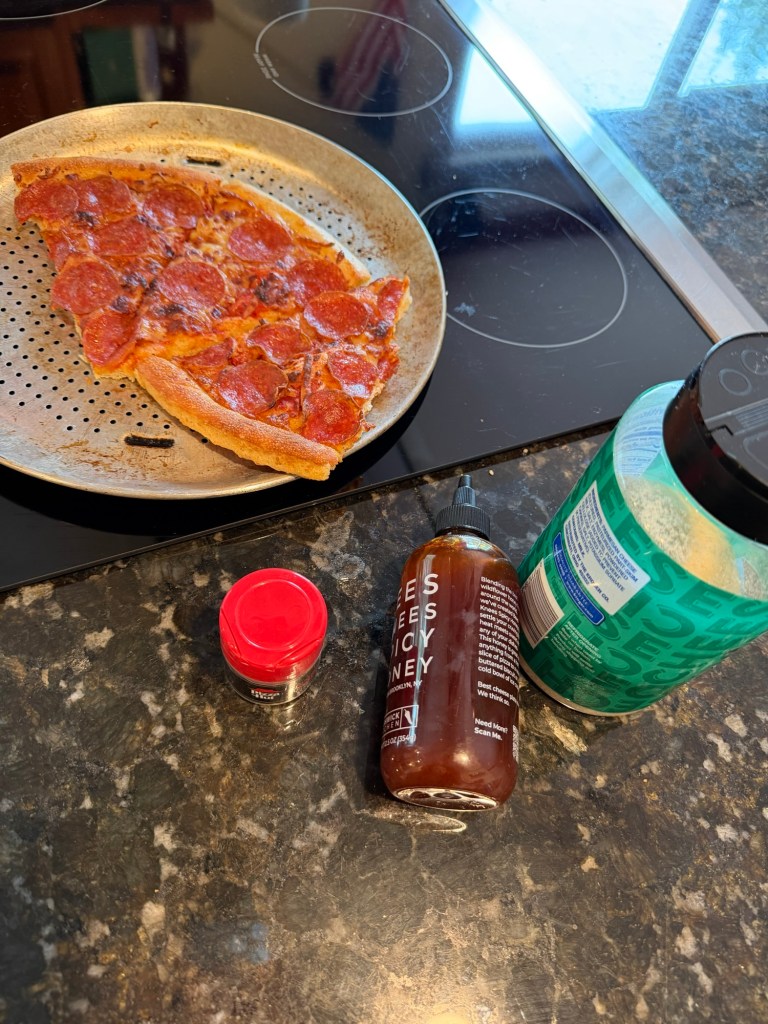
Lunch: leftover pepperoni pizza with pepper flakes, hot honey, and parmesan. I like my slices spicy.
Wash grease off fingers thoroughly with soap before continuing the prototyping…
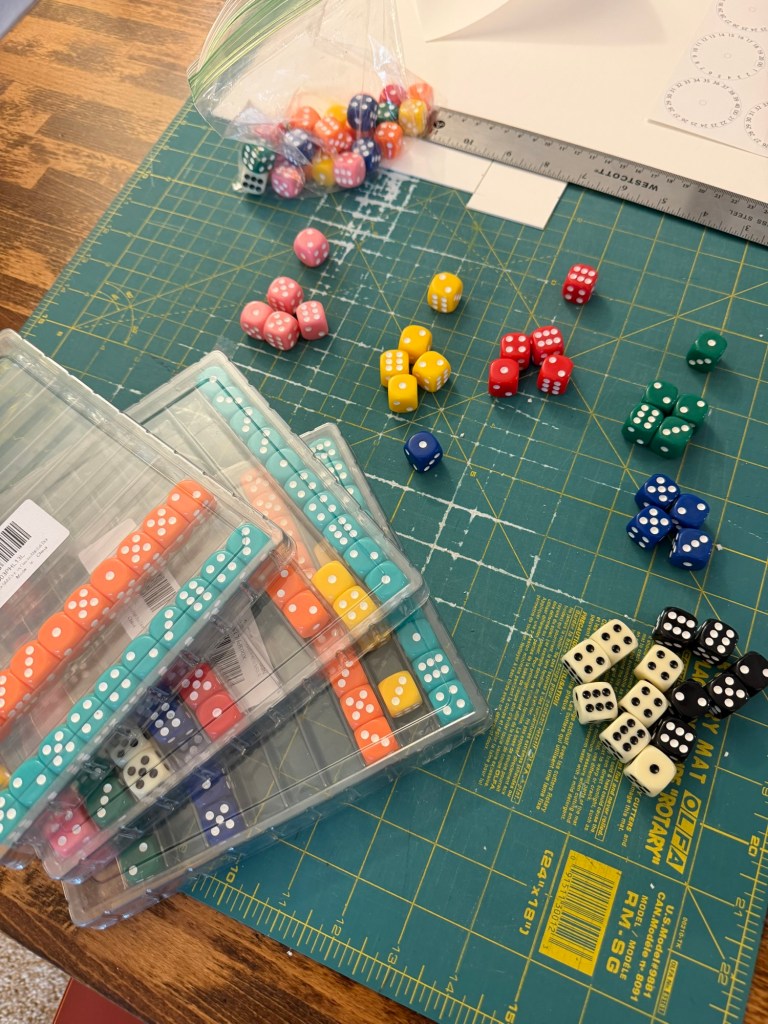
Sorted out the dice I knew I had. Each player gets a bag of four dice matching their character color and two white dice. There’s a spare die of each of the five character colors in the kit, and the enemy “AI/automa” gets ten black dice and five gray. Like I said earlier, the supplies weren’t mathing, so I had to set this part aside for the next day.
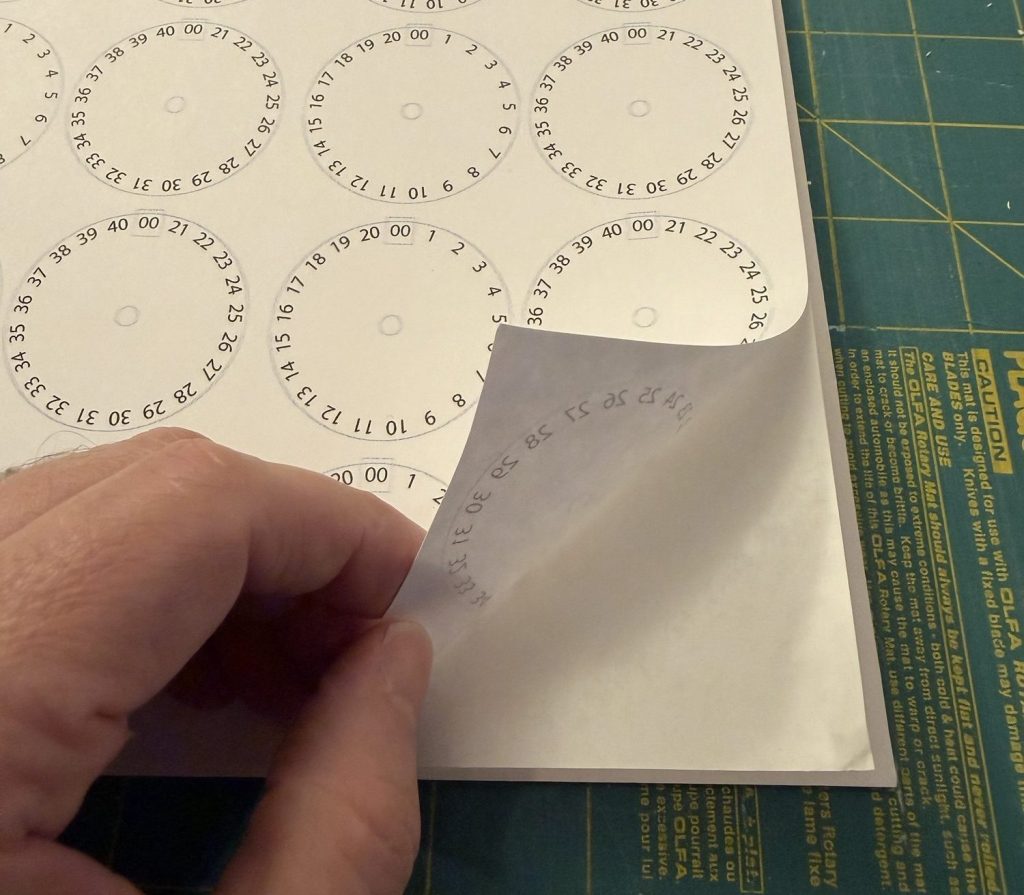
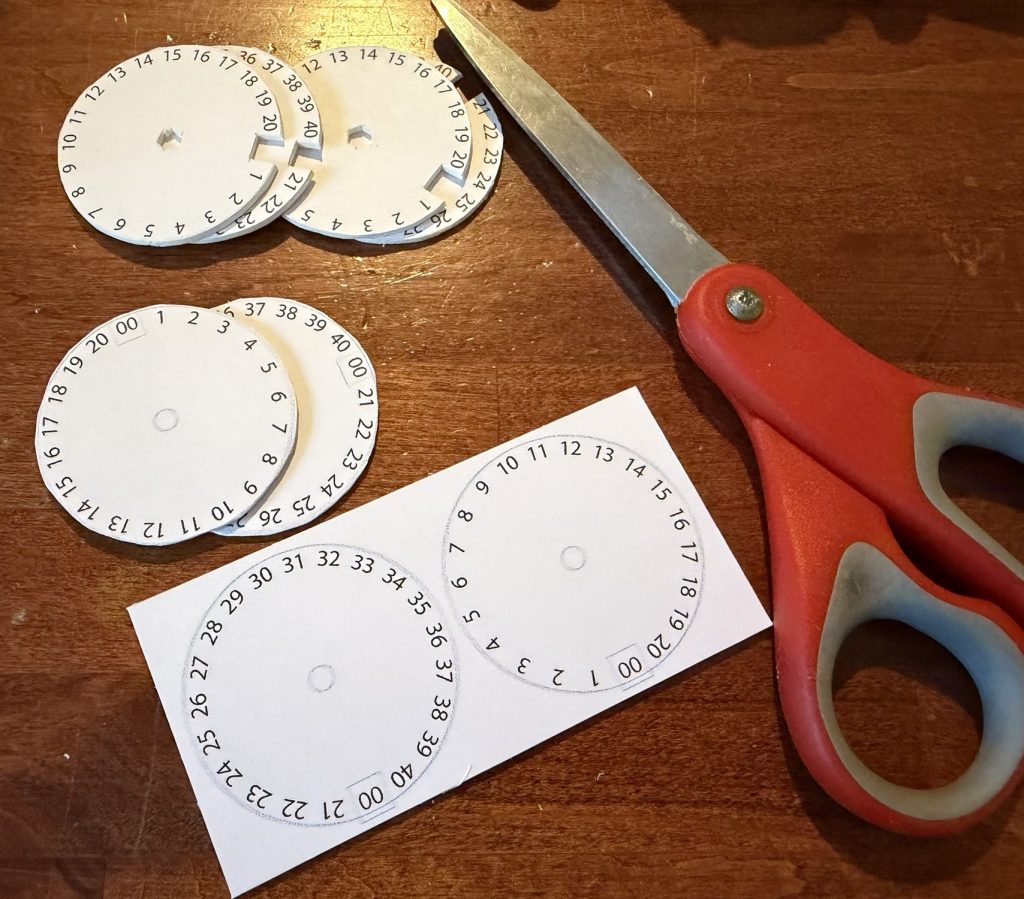
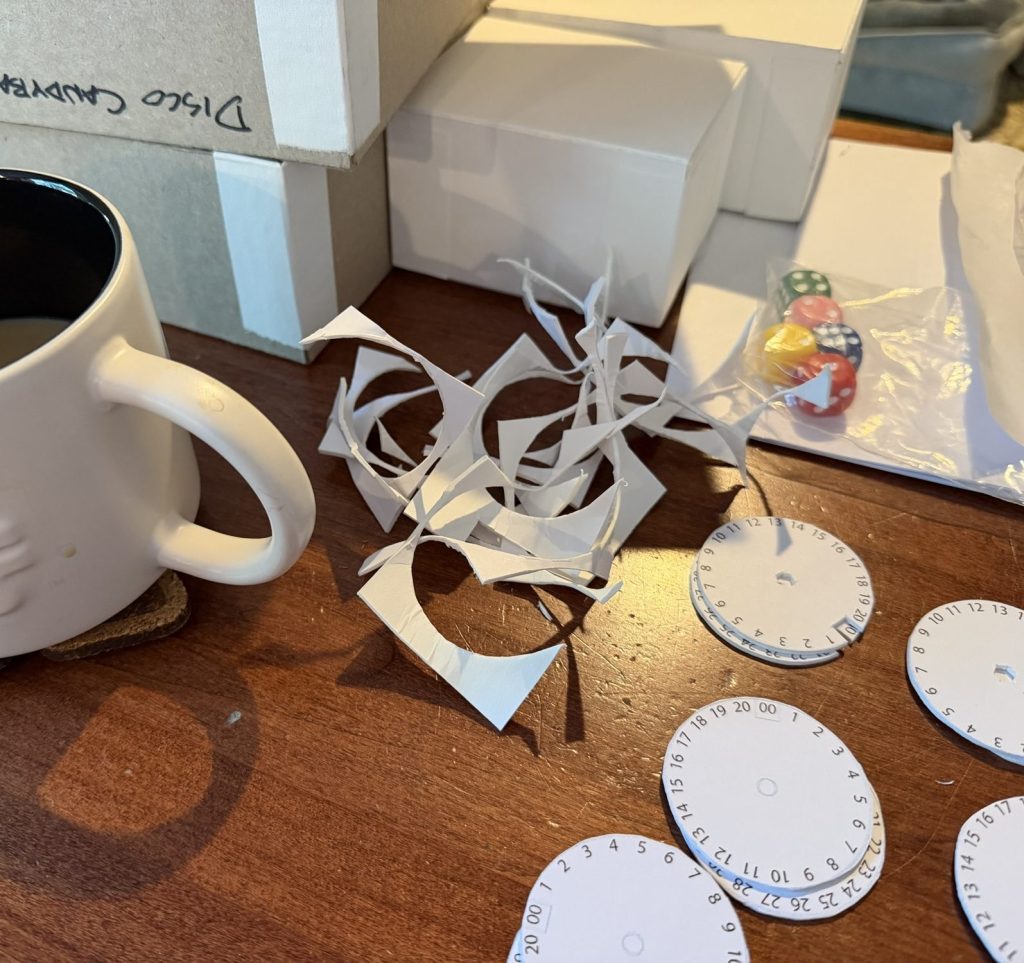
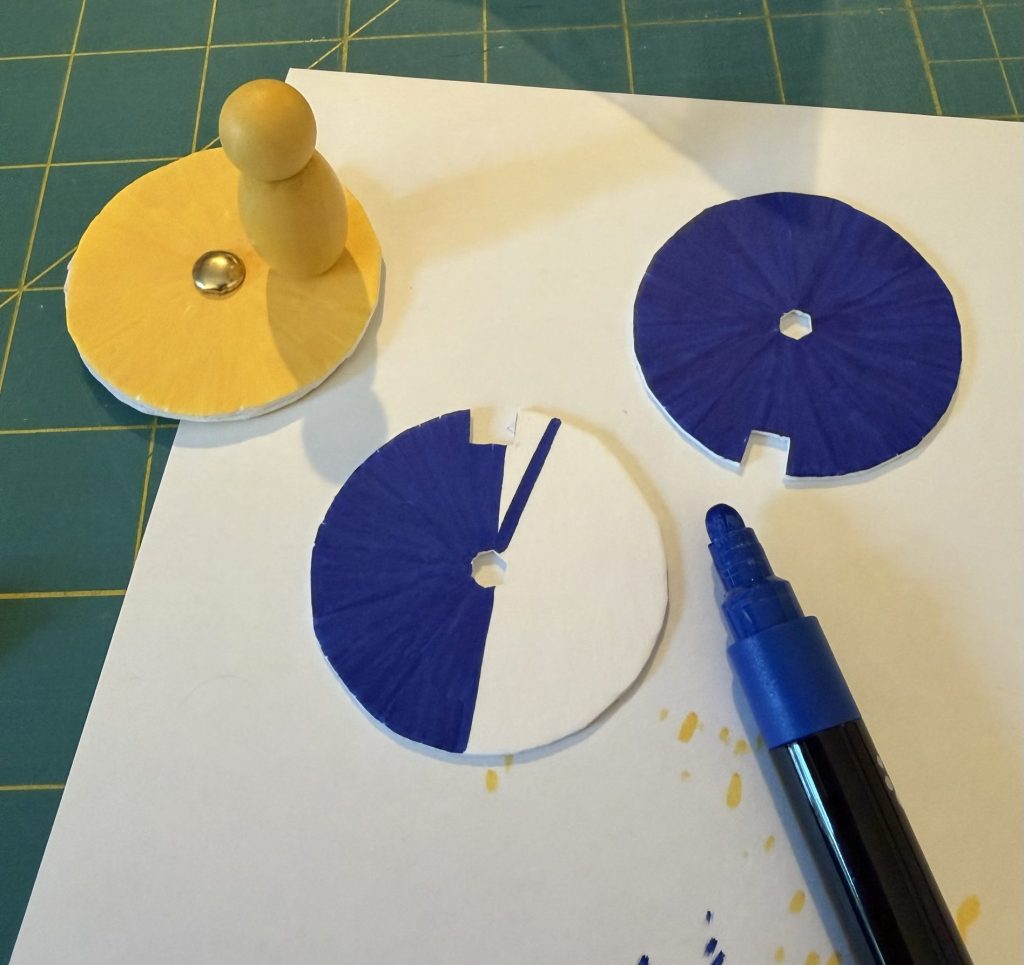
The game has a bunch of two-part dials for tracking the health of the players’ characters and the enemies they fight. Last year when I first built my prototypes, I went through half a dozen builds before I found a process I liked.
I set up a file that has 21 “spaces” for numbers around the perimeter of a circle. Twenty numbers go in all but one of those spaces, and the last becomes a notch. Each dial has two discs; one numbered 1-20, and the other one 21-40. Print them on sticker paper and mount them on mat board, cut them out*, put them face to face with a small brass brad, and voila, double-sided dial that counts up to 40 hit points.
* Going from years of experience, cutting circles out of mat board with an X-acto knife sucks, and breaks way more blades than it’s worth. I got smart this time and tried using some really sharp scissors, and wouldn’t you know it, they worked. Still had to cut the notches and center holes with a knife, but it was a lot less tedious than it’s been in the past.
Also, more coffee.
I colored the dials with some basic paint markers that I stole from my son’s collection when he wasn’t looking. I like the richness of the colors, and the thrill of using his stuff without his permission. What, he does it with my stuff all the time.
The dog judges me.
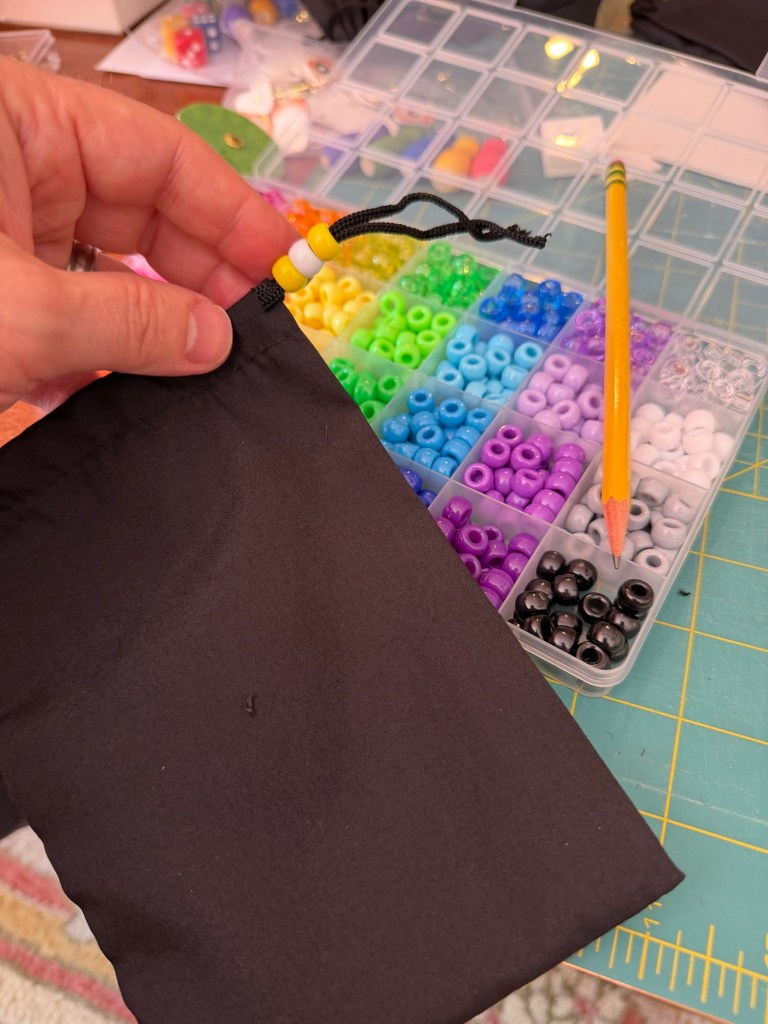
The whole dice placement system the game is built on requires that players don’t know which dice they’ll get to use from turn to turn. This means that everyone (and the enemy automa) needs a dice bag to pull a random subset of their dice from. Ideally, I’d have a different colored bag for each player matching their character color, but I couldn’t find those cheap online. The black cotton bags I did find work great, as they’re nice and opaque, and the drawstrings are just the right thickness to pass through a couple of plastic beads. Different beads to distinguish the different characters, and we’re good to go.
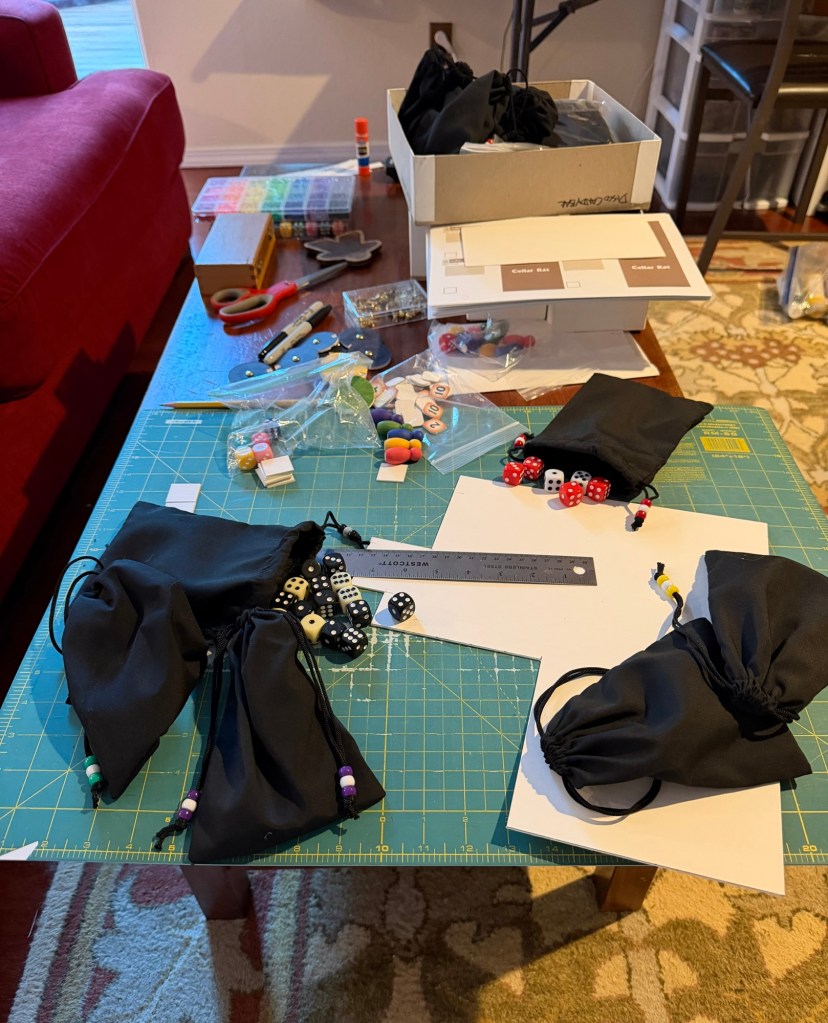
Here’s the coffee table mid-build. Honestly, I’m not sure at this point which parts go in which box, but we’ll sort that out later. For now though, it’s time to break. I have other projects and responsibilities that need attention, so we’ll pick up the rest of the phototyping next week.
Awkward and abrupt closing.
End part 1…
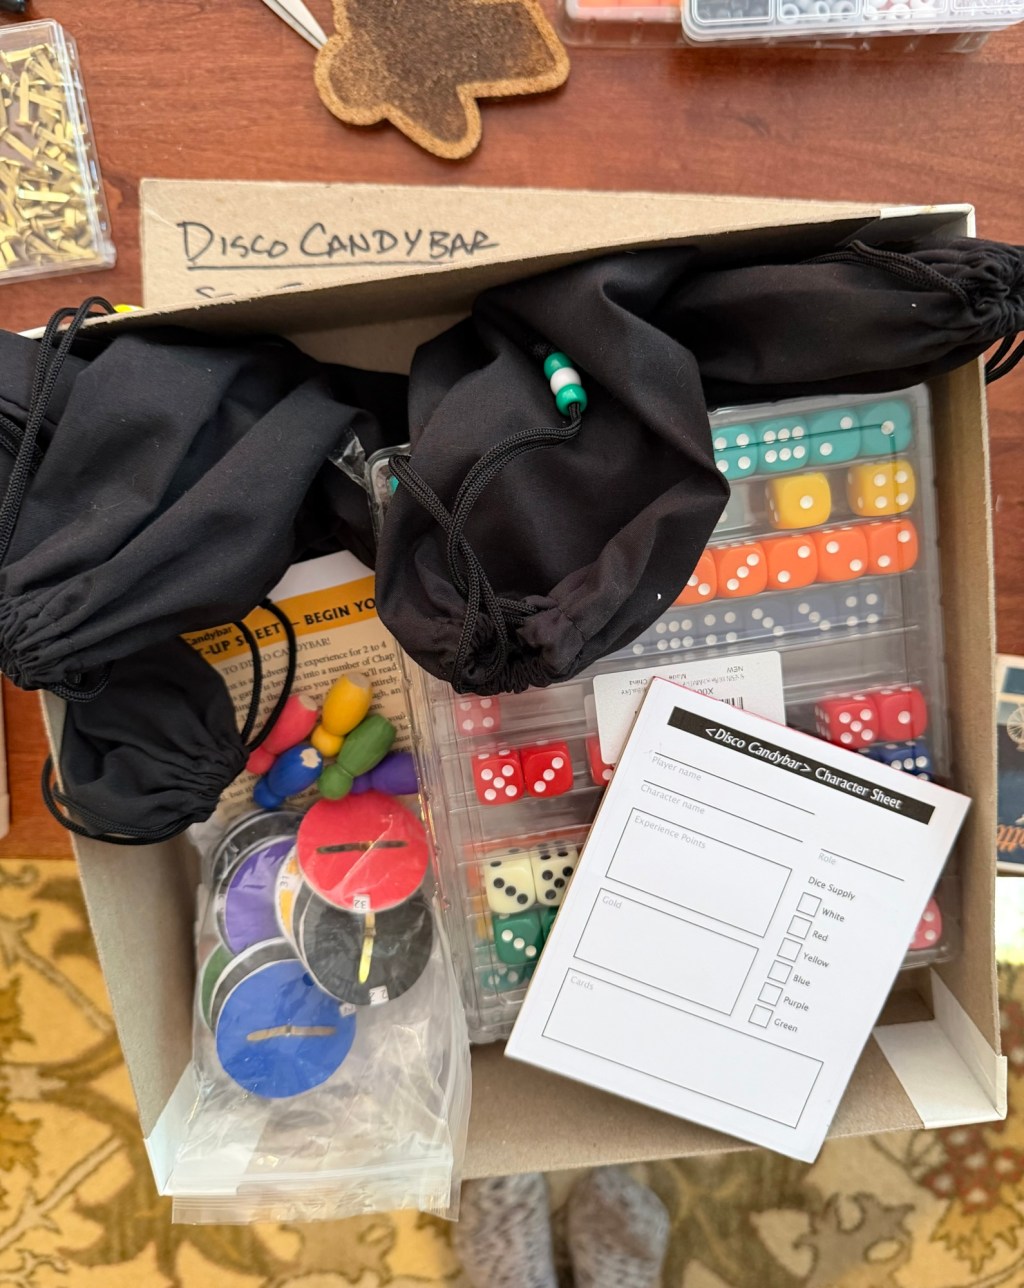

 DiscoCandybar.com
Leave a comment