I took a look the other day at some of the process of finding out what it’s going to cost to get a game like Disco Candybar manufactured. Today I’m looking at something more immediate and close to home: The parts that go into actually making my prototypes. This isn’t about tracking expenses for tax purposes or anything (though if I get this game signed, I’ll probably regret not saving receipts as diligently as I could have), it’s more for those curious about what they might expect to need or spend if they ever decided to make prototypes of their own games.
There are some meta-level elements that I’m not going to get deep into; for example, I use a desktop iMac running the Adobe Creative Suite to create my files, but I’m not going to itemize those costs in this post. We already had the computer for household purposes, and my wife is a graphic designer by trade (as was I a while back), so the Adobe programs are also standard tools at home. I’m not going to list out our printer/scanner, stacks of paper, glue (basic Elmer’s is greater than most give it credit for), tape, or poster paints and sharpies either, as we use those for lots of stuff.
The “meta” stuff I will list are things that have multiple uses outside of game prototyping, but that dramatically improve your quality of life and the quality of the finished prototype; things like cutting setups and good board/token material.
One last note before diving in: Everything here can be found conveniently via online super-retailers, but whenever possible, support your Friendly Local Game Stores (FLGSs) and other nearby brick-and-mortar shops. Most of the supplies on this list — or reasonable facsimiles — can be found in craft stores, woodworking supply shops, grocery stores, and most importantly FLGSs. I mention those twice here because they’re critical to the health of our hobby.
SELF-HEALING CUTTING MAT
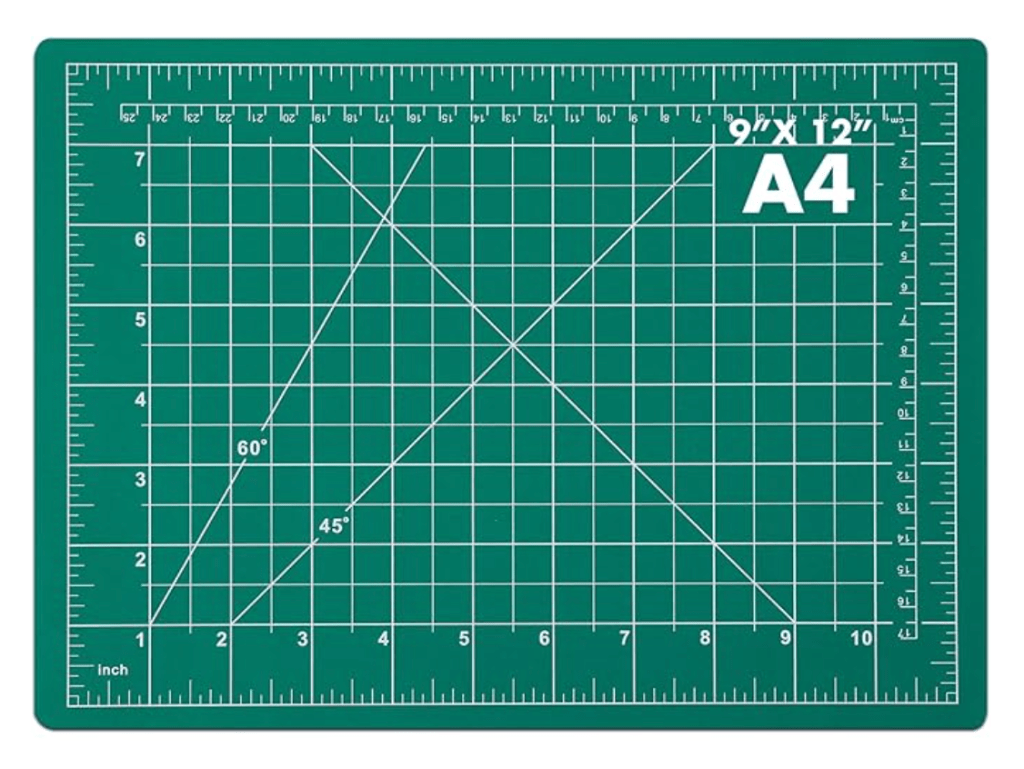
$10-$20
I recommend something no smaller than a 9″ x 12″ mat, and typically prefer something closer to 11″ x 14″. And a good one will last you a year or so of consistent use. They will wear out over time, so if you can get a 2-sided one, go for it. Once you start getting deep gouges and chunks falling out, it’s time to replace it; those gouges can make your knife catch or jump, and you don’t want to know the rest of that story.
X-ACTO KNIFE & BLADES
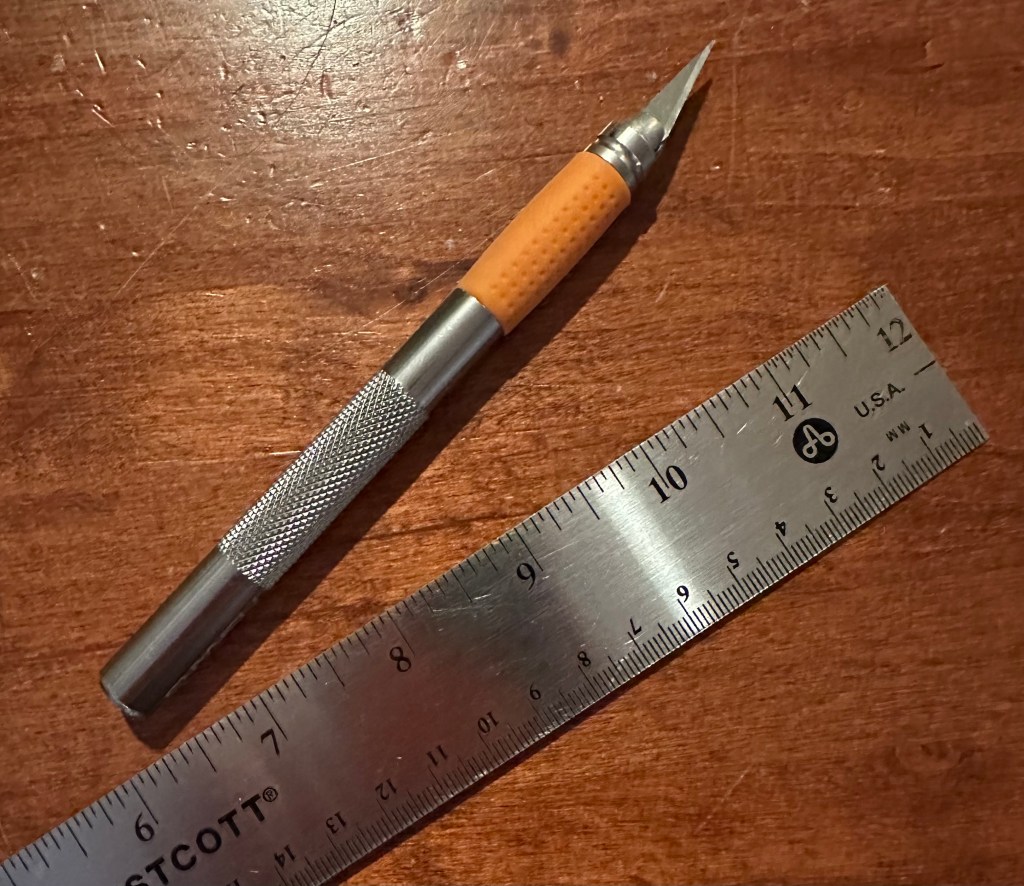
$15
Technically the one I’m using these days is made by Fiskars, and I like it for the grip. I used standard-issue X-Actos for decades though, and they’re 100% serviceable. You can get a good knife handle and a supply of backup blades for about $15, but I recommend stocking up on the backup blades. 25 years ago it seemed like a blade could last forever, but for the last ten, I’ve felt like I go through them at an alarming clip. Once the tip of the blade snaps off more than a tiny bit, the blade is almost useless and needs to be replaced. You’ll learn to hate that snapping sound fast.
12″ METAL RULER WITH CORK BACKING
$10
For most projects, a 12″ ruler will suffice, but if you’re crafting a game board, you’ll probably want something bigger. Regardless, it’s the materials here that matter. If you’re using a blade for cutting, you’ll shave right through wooden or plastic rulers. The cork backing is critical too, as it cuts down on ruler slippage by like 98% (not a scientifically calculated number, but close). Cutting is serious stuff, and aside from obvious safety issues, a slipped ruler/knife combo can just waste valuable time and printouts.
MAT BOARD (11″x 14″, 10-pack)
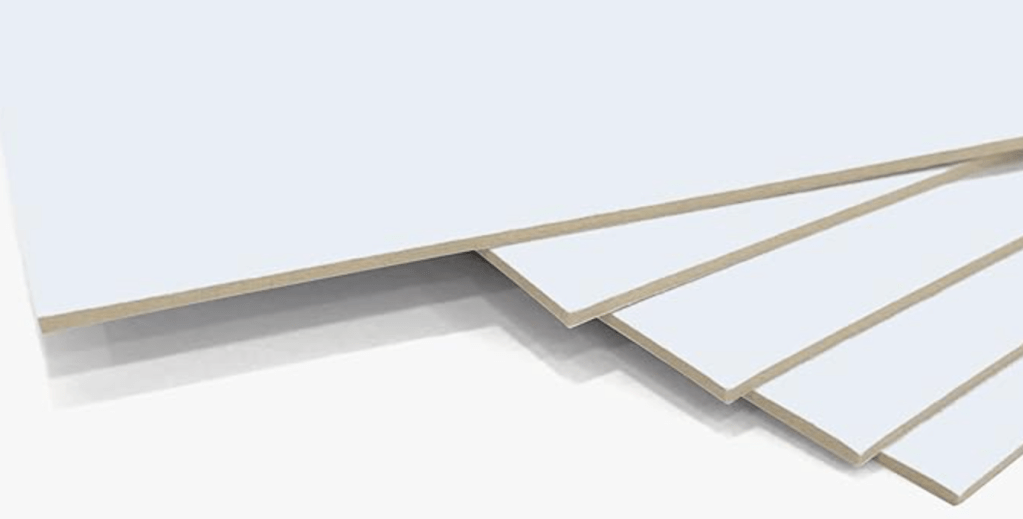
$15
Dimensions and quantity will vary, but the important thing here is density/weight and thickness. I’ve been picking up the 10-packs online for smaller projects, but when I need a bigger piece for making game boards or more elaborate construction, I go to the local craft store for the big sheets. Photo mat material is a great weight and durability, and is relatively easy to cut through with the blades listed above. I love this stuff, and for anything heavier than a card, this is hands-down the material to go with. Foam core can go to hell.
BRADS/PAPER FASTENERS
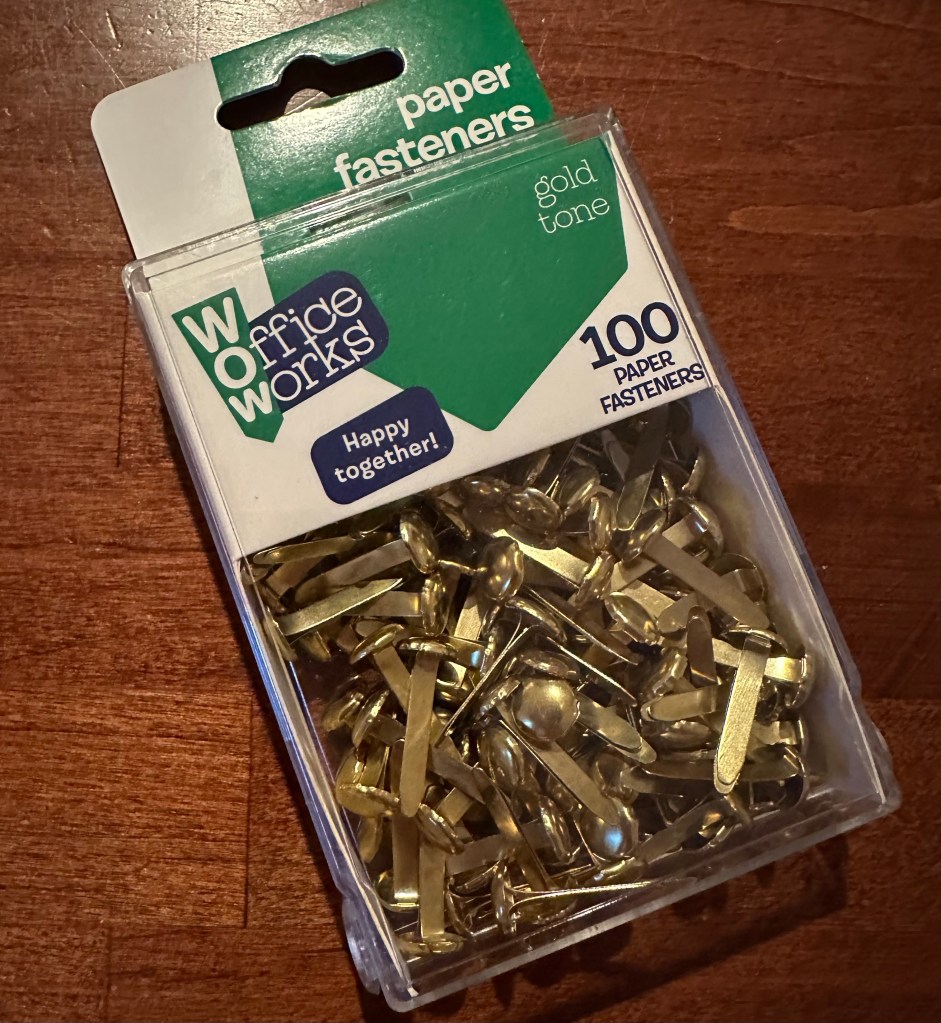
$3
I found these at my grocery store with the stationery and school supplies. You know all about them. The reason I listed them is that they’re a functional, cheap, and easy-to-find alternative to something I wish I actually had a stockpile of lying around: plastic dial screws.
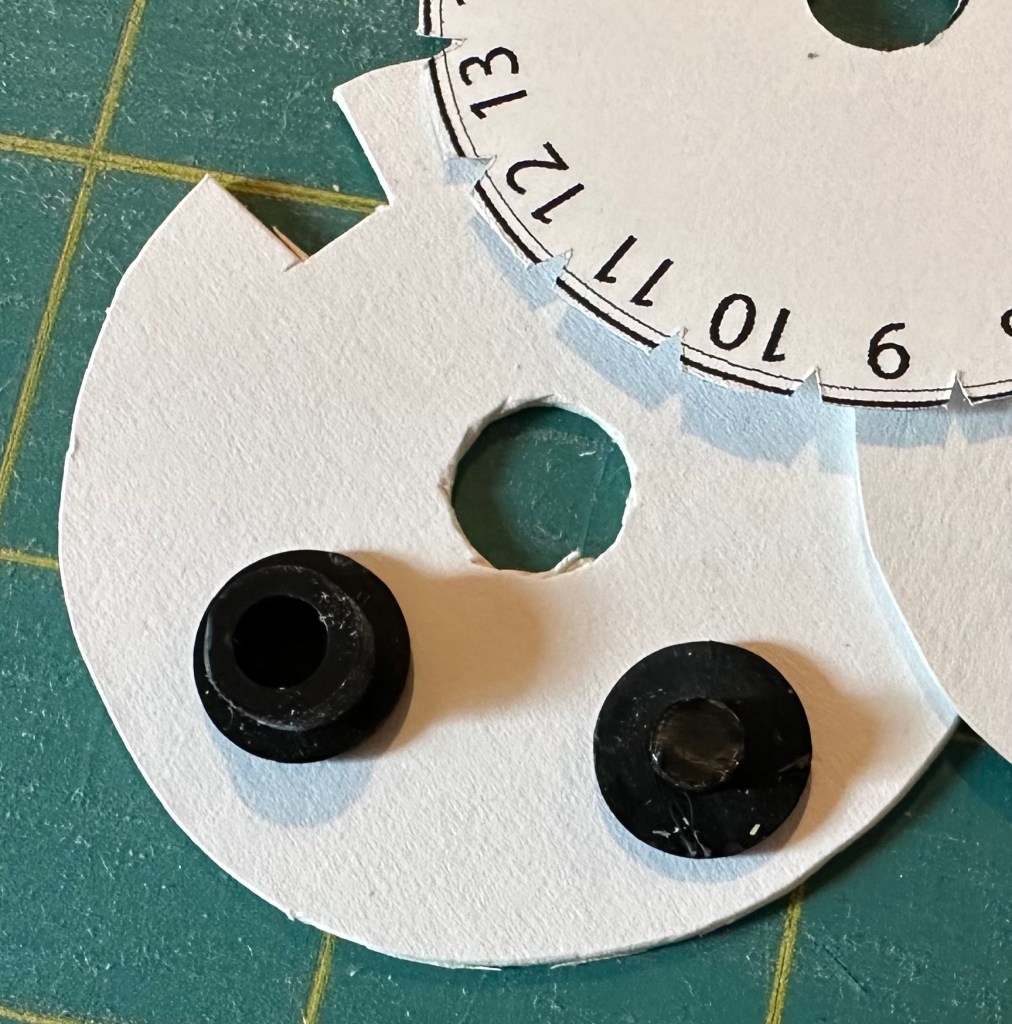
The plastic screw I used in the test-run dial I showed the other day in Candybar Bites was shamelessly stolen from my own copy of Unmatched, but you can get them online through The Game Crafter. The 3D printed plastic parts are really cool, but getting 100 sets of them will start around $15 (plus shipping and delivery timelines), and the rigid sizing of them puts some constraints on how many layers you can sandwich with them. Maybe for my final-final pitch-ready prototype I’ll splurge for plastic screws, but for cost effectiveness and convenience, the $3 office supplies from down the street just win.
CLEAR CARD SLEEVES (Pack of 50)

$5
I picked up these clear Arcane Tinmen sleeves for five bucks a pack at my FLGS. There are a ton of options out there for opaque-backed sleeves, but for what I need when I want clear backs, I’ve liked these the best. They also come in a bunch of different sizes, which gives me some great options when it comes to choosing the right size-for-purpose when it comes to designing different kinds of cards for my games. The ones shown here are 63x88mm, which fit the standard 2.5″ x 3.5″ card size. I like that size for templating my cards because it shuffles well, I can fit 9-up on an 8.5″ x 11″ printer sheet, and, well, there are tons of options for sleeves right off the shelf.
WOODEN PEG MOVERS
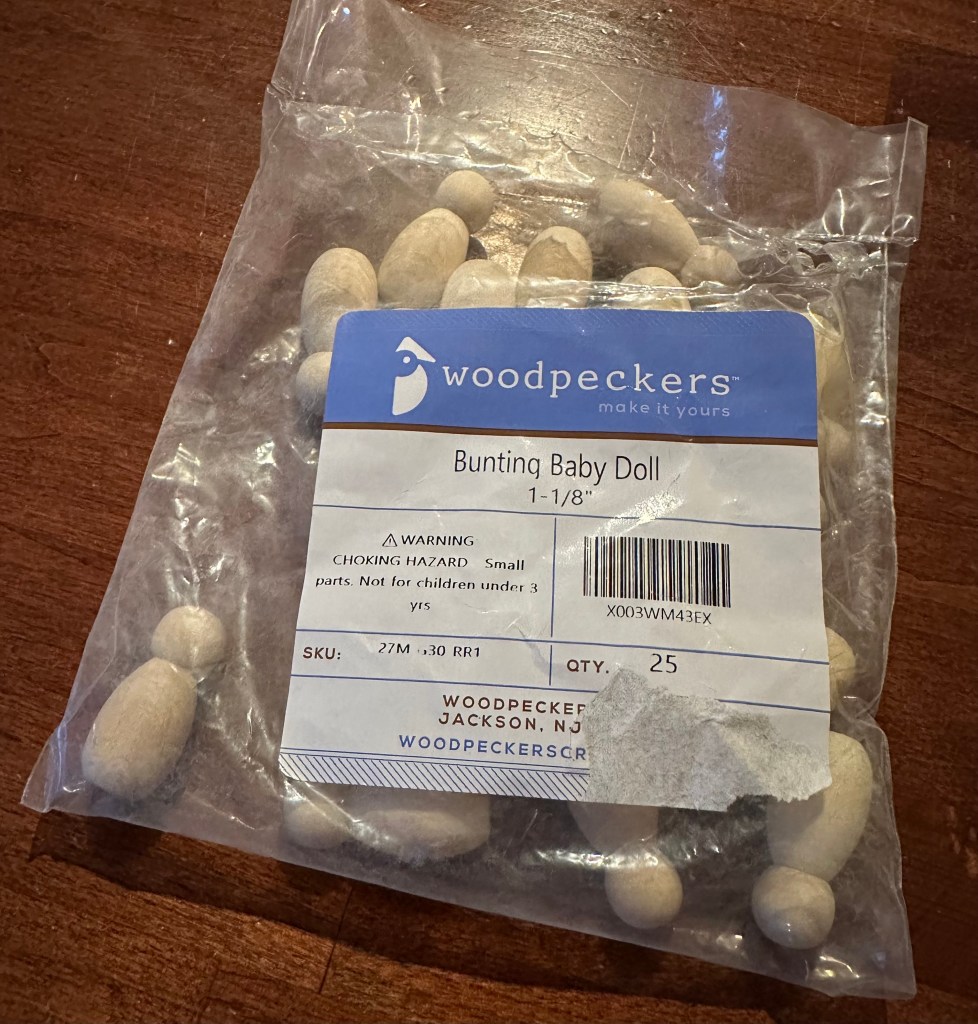
$8
Did I need a whole bag for this project? Not for just one copy of the physical prototype. But for eight dollars, they’re handy pieces to have around. They’re a little bigger than standard meeples, which was a selling point for me with this particular game.
COLORFUL PLASTIC TILES
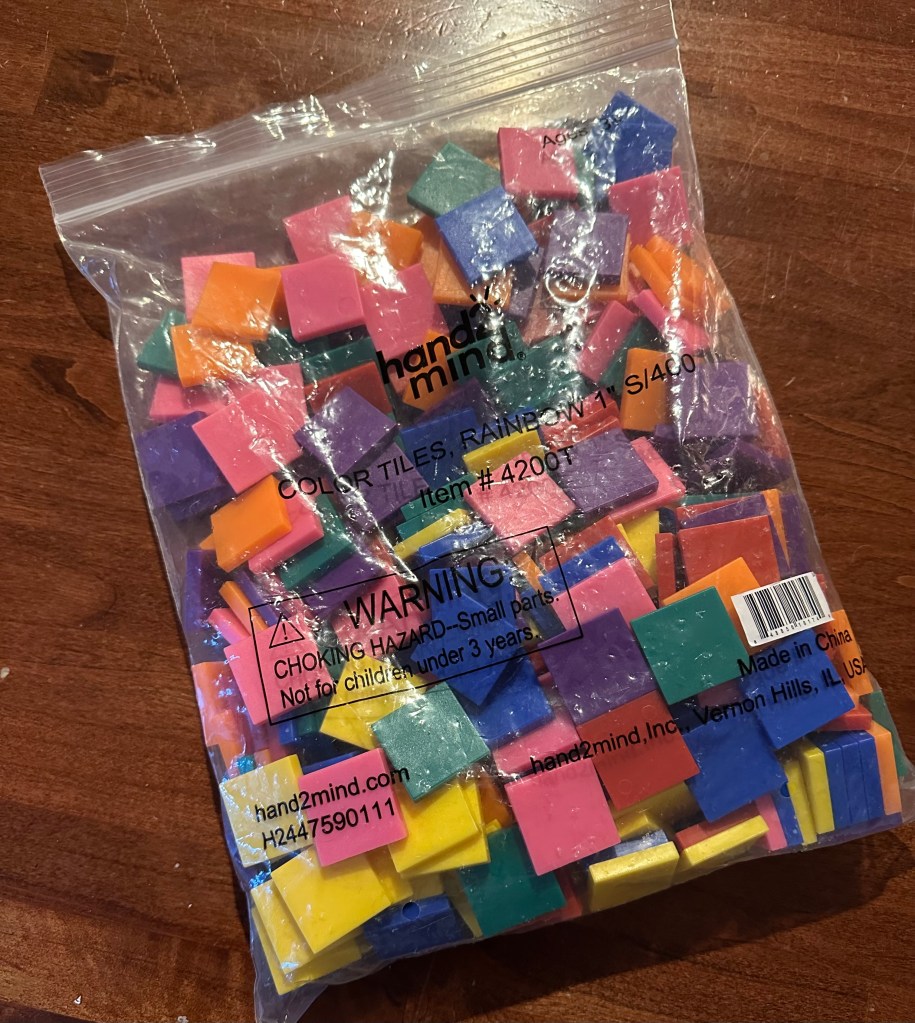
$33
These are about as close to a “prototyping supplies staple” as you can get. I have a bag of around 400 of these, and I don’t have a stash of random meeples, because for most rough prototyping purposes, these are more versatile. I’ve actually only used a handful of these in the Disco Candybar prototype currently, but I had the supply on hand from several other game design projects I’ve been working on. Just really useful.
BLACK CLOTH BAGS (Palterwear, 6-pack)
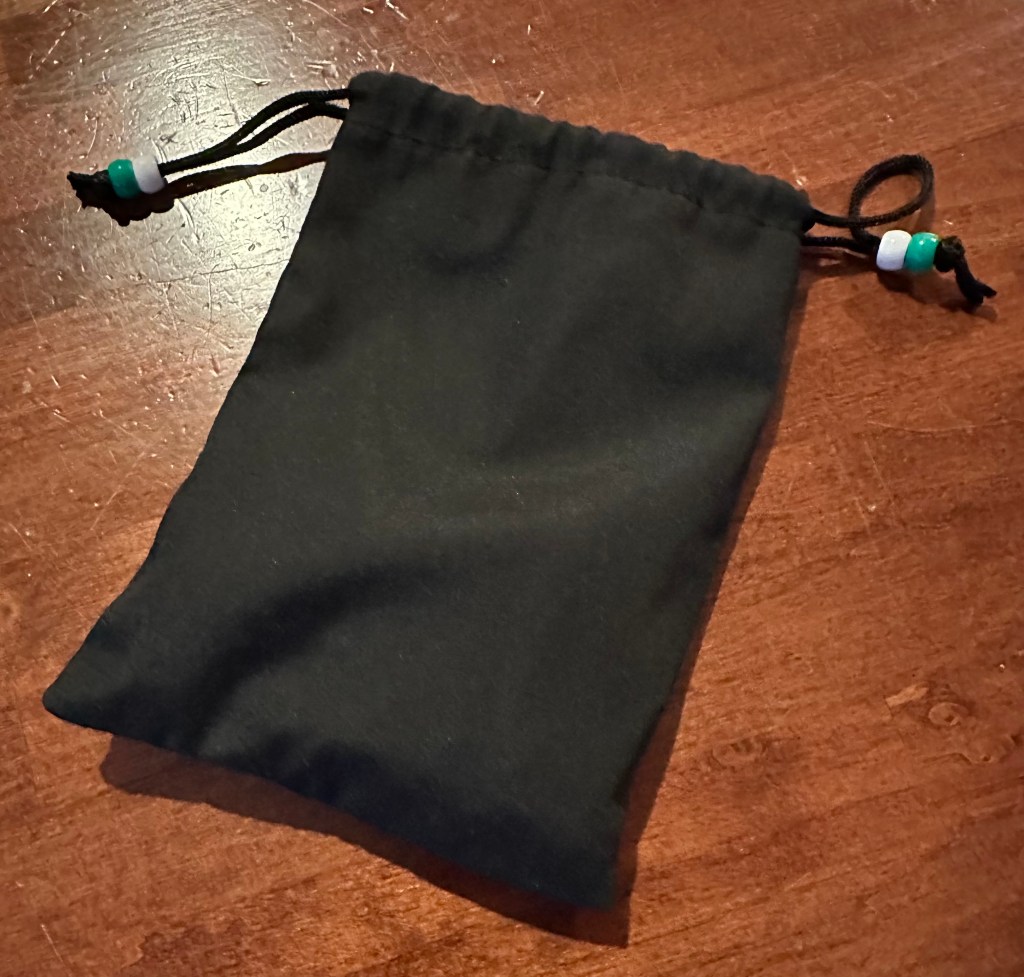
$9
These 5″ x 7″ black bags were one of the hardest components to nail down, not because they’re hard to find themselves, but because there are a lot of options that are close, but don’t quite work for my needs. I tried un-dyed muslin and cotton bags, and they were too transparent. I tried smaller bags, and couldn’t fit my hand in. I tried larger bags, and the other components just swam around in them. These just hit the nail on the head for what I was looking for. The six-pack was perfect in that I initially thought I needed five, but realized that with the spare, I could add one more character option to my build-out. I added the beads to the drawstrings myself so I could distinguish what the components inside were at a glance.
STORAGE BINS, 8″ x 5″ x 2″
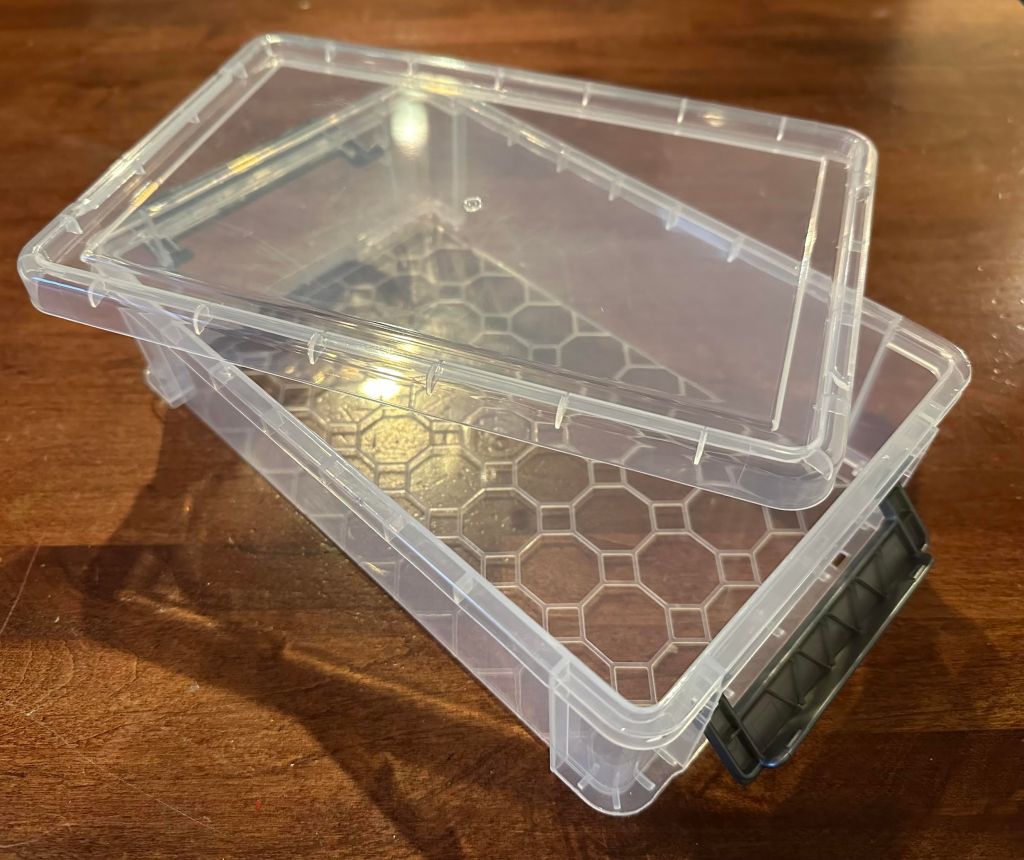
$22, 6-pack
These are just straight-up useful regardless of the game project. Really, I’m just listing them here to show what’s available out there. This particular container is made by Sooez, and it absolutely fits my needs — for now. The interior dimensions are listed above, and that’s really what matters. It’s worth noting that a folded 8″ x 11″ rules sheet does not fit in this bin nicely, but the whole game will probably be migrating to something bigger soon anyway.
OKAY! There are a handful of other parts in my prototype right now that I’m not sharing (gotta keep some of the secret formula a secret), but for the most part you can see what some of the basics will set you back, and you should have a good idea where to start when you’re looking for components that ride the line between good quality and accessible price.
And now, for the first time in the Disco Candyfactory blog, I’ll kick it back to you. Are there any go-to prototyping parts you swear by? What kinds of materials do you like using in your prototypes? What should a game designer always have on hand for sudden ideas? Leave your lists in the comments section! Thanks!
PREVIOUS:
Candybar Bites


Leave a comment